Here’s how to set up Redmine as a container using Docker.
Preparation – Install Docker Desktop for Windows
Learn how to install Docker Desktop for Windows

Create a working folder
Create a working folder.
This time, create a "redmine-docker" folder directly under the C drive. (Directory and folder names are optional.) )
Create docker-compose.yml
Create a file and save it to your working folder.
services:
  redmine:
    image: redmine:latest
    container_name: redmine
    restart: always
    ports:
      - "3000:3000"
    environment:
      REDMINE_DB_MYSQL: db
      REDMINE_DB_DATABASE: redmine
      REDMINE_DB_USERNAME: redmine
      REDMINE_DB_PASSWORD: *****
    volumes:
      - redmine_data:/usr/src/redmine/files

  db:
    image: mysql:5.7
    ports:
      - "3306:3306"
    container_name: redmine-db
    restart: always
    environment:
      MYSQL_ROOT_PASSWORD: *****
      MYSQL_DATABASE: redmine
      MYSQL_USER: redmine
      MYSQL_PASSWORD: *****
    command:
      --character-set-server=utf8 --collation-server=utf8_general_ci
    volumes:
      - mysql_data:/var/lib/mysql

volumes:
  redmine_data:
  mysql_data:
Please change the password “*****” above to any one.
Launch Redmine container
Navigate to the directory where the docker-compose.yml is located at the command prompt and launch docker-compose.
cd C:\redmine-docker
docker-compose up -d-dis started in the background (no logs keep appearing on the screen)- The first time you download the image, it will take a little time
[+] Running 5/5
 ✔ Network redmine-docker_default        Created                                                                        0.0s
 ✔ Volume "redmine-docker_mysql_data"    Created                                                                        0.0s
 ✔ Volume "redmine-docker_redmine_data"  Created                                                                        0.0s
 ✔ Container redmine-db                  Started                                                                        1.8s
 ✔ Container redmine                     Started
If you see the above, you’re done.
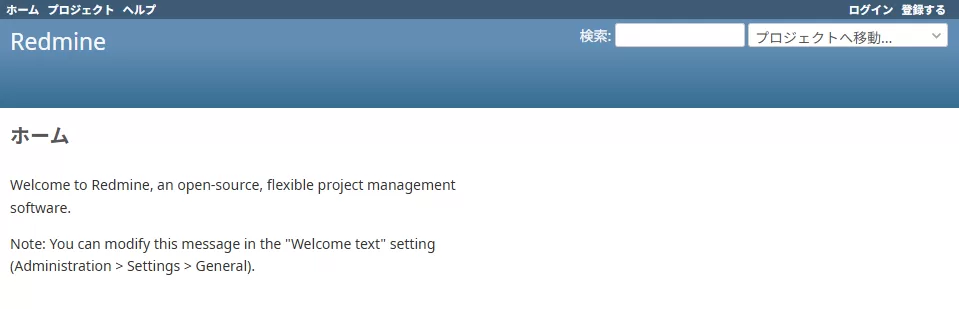
Access with a browser
Open the following URL in your browser:
http://localhost:3000If you see the Redmine login screen, you are successful.
Login Information (Initial)
| Username | password |
|---|---|
admin | admin |
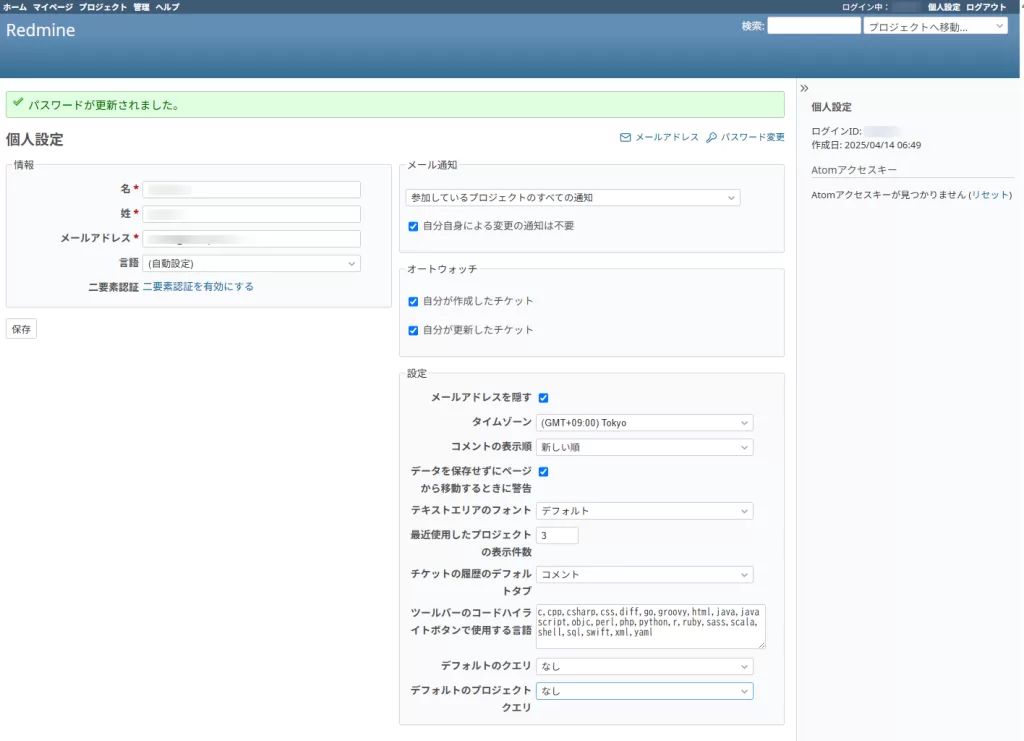
※ You will be asked to change your password after the first login, so please change it.
Customize and save the initial settings as needed.
Start, stop, and log check
| command | explanation |
|---|---|
docker-compose up -d | Container Launch |
docker-compose down | Stop (data does not disappear) |
docker-compose logs -f | Real-time log review |
docker volume ls | Checking Volumes (Persistent Data) |
About Data Persistence
The following two “volumes” ensure that data is retained even after container deletion:
mysql_data→ MySQL Databaseredmine_data→ Redmine internal data, such as attachments
Supplementary Information
- Persistence in Docker is internally
/var/lib/docker/volumes/stored under - Operating Ring::Remarks on Databases
Quote source: https://redmine.jp/guide/RedmineInstall/#Requirements (as of 4/1/2025)
- MySQL 5.5 – 5.7
- PostgreSQL 9.2 or later
- Set the date format of the database to ISO (the default for PostgreSQL). You can set it in the following SQL statement:
ALTER DATABASE "redmine_db" SET datestyle="ISO,MDY";- Redmine 3.x also supports PostgreSQL 8.1 through 9.1
- Microsoft SQL Server 2012 or later
- Redmine 4.0 is not compatible with SQL Server as of December 2018. This is because the library activerecord-sqlserver-adapter that depends on it is not compatible with Rails 5.2
- SQLite 3 (not suitable for production environments accessed by multiple users!)
- Access path to the virtual Linux environment (WSL2) used internally
\\wsl$\docker-desktop\ is the access path to the virtual Linux environment (WSL2) that Docker Desktop uses internally. This is not a “place for users to directly develop work”, but an area for storing Docker system containers and internal files.
| item | substance |
|---|---|
| Official name | docker-desktop(Lightweight Linux on WSL2) |
| purpose | Manage Docker control processes, network, storage, etc. |
| How to get there | In \\wsl$\docker-desktop\ File Explorer, type |
| contents | Docker configuration files, databases, caches, etc. (direct editing is not recommended) |
Related Paths
| path | explanation |
|---|---|
\\wsl$\docker-desktop-data\data\docker\volumes | Docker volume (/var/lib/docker/volumes equivalent) |
\\wsl$\docker-desktop | Docker engine itself configuration files, etc. |
\\wsl$\docker-desktop-data | Physical file storage for volumes and images |
Next time and later boot method 1 Start with a command
Go to your project’s directory and run Compose:
cd C:\redmine-docker
docker compose up -d
Access with a browser
Open the following URL in your browser:
http://localhost:3000If you see the Redmine login screen, you are successful.
How to launch next time and later 2 Start with Docker Desktop
Start the appropriate Containers
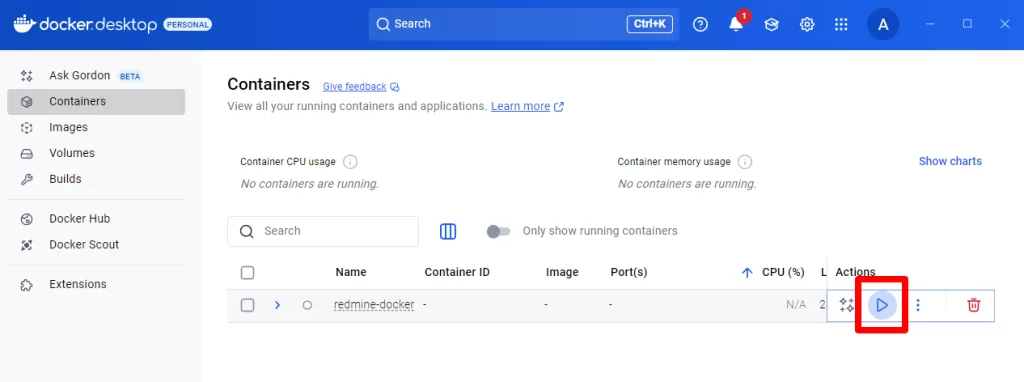
Click on the relevant Container
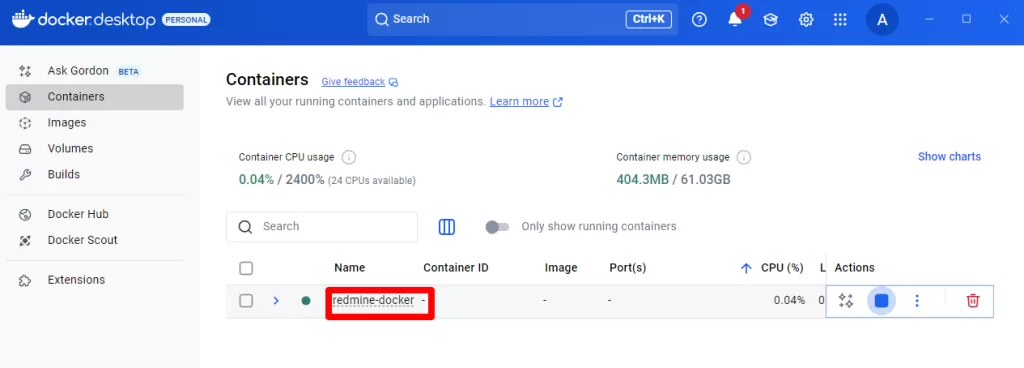
Click on the link.

Official documentation
- Docker Official: Docker Desktop Terms of Use
https://docs.docker.com/desktop/license/ - Docker official pricing page (compare paid plans)
https://www.docker.com/pricing/ - Redmine Official Docker Image
https://hub.docker.com/_/redmine - Redmine official website (Japanese)
https://redmine.jp/ - Basic Redmine operations in 5 minutes
https://redmine.jp/gofun/quick-start/ - Redmine installation instructions
https://redmine.jp/guide/RedmineInstall
References
- Microsoft Docs – Windows PowerShell
https://learn.microsoft.com/powershell/ - Microsoft Docs – Command Prompt Reference
https://learn.microsoft.com/windows-server/administration/windows-commands/windows-commands - Docker Official: About Volumes
https://docs.docker.com/storage/volumes/ - Docker Desktop + WSL2 Configuration Explained
https://docs.docker.com/desktop/windows/wsl/

Comments