overview
Google Antigravity is an AI-powered integrated development environment (IDE) for developers, announced by Google on November 18, 2025. Antigravity is Google’s first product to combine the four core principles of collaborative development: trust, autonomy, feedback, and self-improvement
. Key features:
Trust
- It provides task-level context for how the agent worked, generating verifiable artifacts rather than just code changes.
- Deliverables include task lists, implementation plans, walkthroughs, screenshots, and browser recordings designed to help users understand and validate agent actions.
Autonomy
- The agent is designed to operate not just in a single work window (editor), but across editors, terminals, and browsers, allowing it to work autonomously from planning to verification.
- It has two interfaces, “Editor View” and “Manager View,” allowing for parallel management of multiple agents and workspaces.
Feedback
- There is a system that allows users to directly comment on the artifacts of agents, allowing agents to make corrections and improvements.
Self-Improvement
- A “learnable” structure that stores the agent’s past work and feedback as a knowledge base and can be applied to future tasks
reference
- Introducing Google Antigravity, a New Era in AI-Assisted Software Development (Nov 19, 2025)
- https://antigravity.google/blog/introducing-google-antigravity
How to use Google Antigravity and installation instructions
1. Download and install
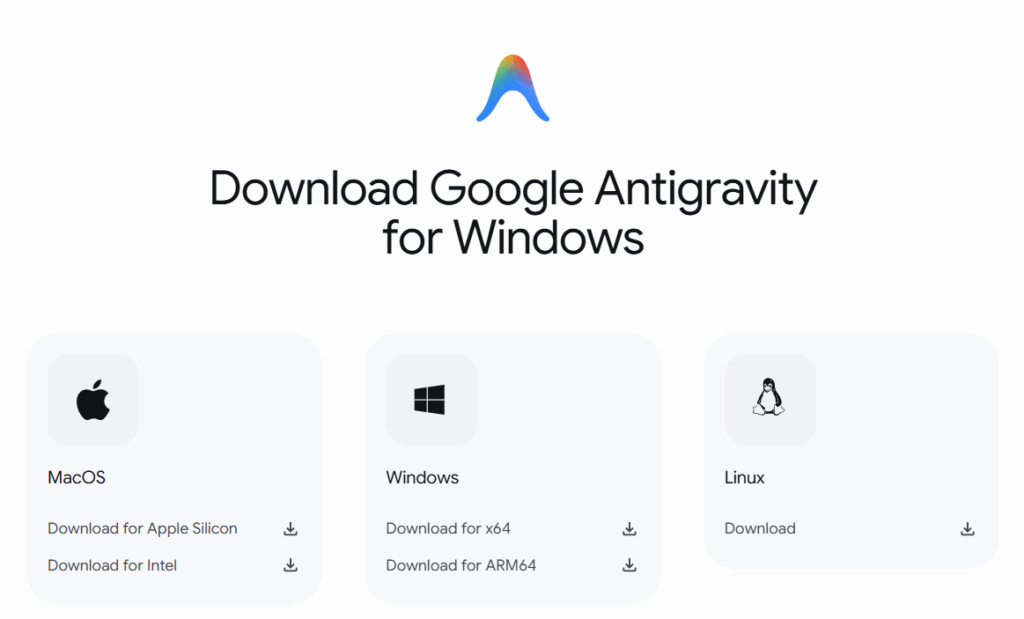
- Official website: Antigravity , or Antigravity Download
- It is available free of charge as a preview version for Windows, macOS, and Linux.
- You may need to sign in with your Gmail account.
Minimum requirements
- MacOS:
macOS version compatible with Apple security updates. Usually the latest version and the two versions before it. Minimum version is 12 (Monterey). X86 is not supported. - Windows:
Windows 10 (64-bit) - Linux:
glibc >= 2.28, glibcxx >= 3.4.25 (e.g. Ubuntu 20, Debian 10, Fedora 36, RHEL 8)
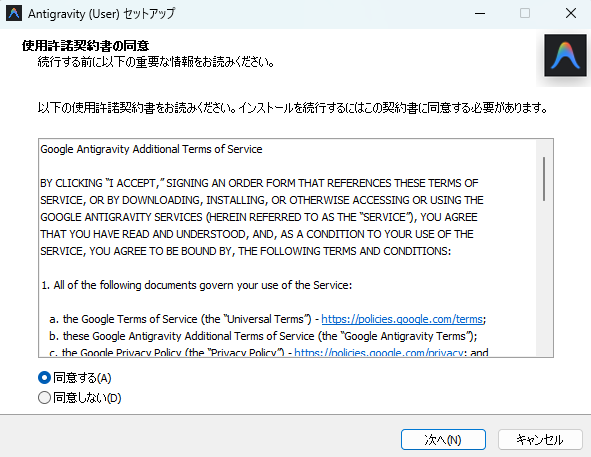
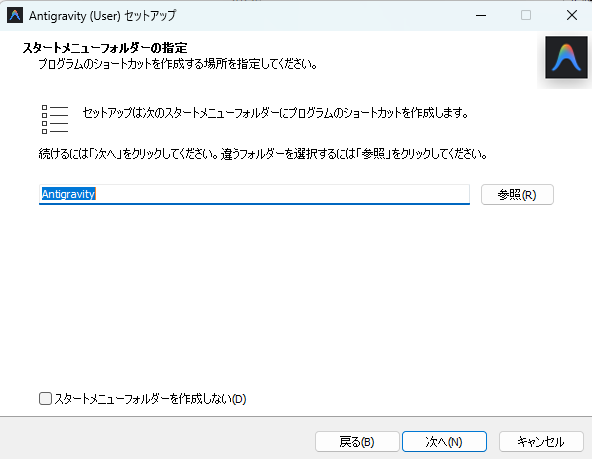
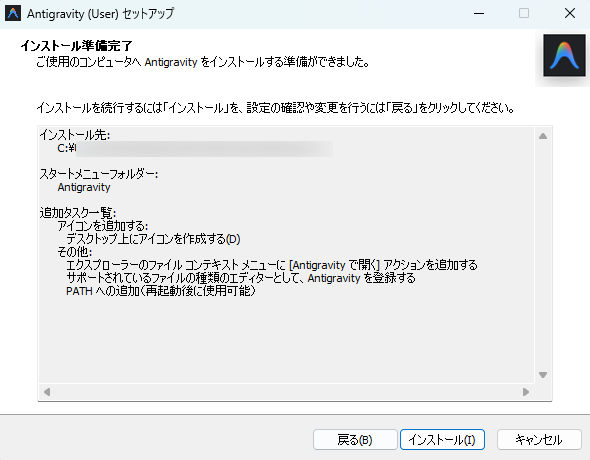
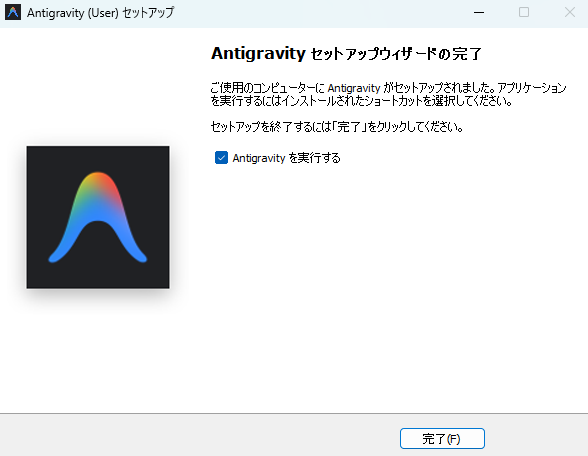
Below are the setup steps for Windows.
Specify the installation location and click Next.


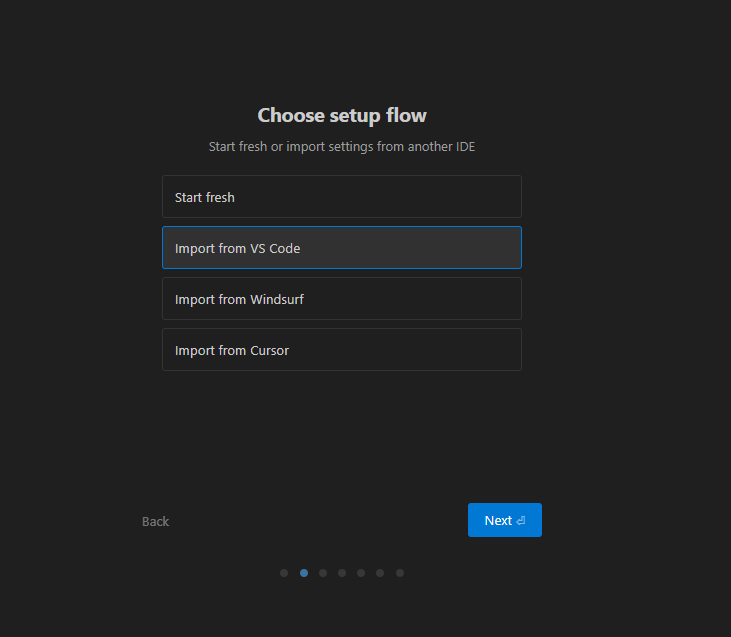
2. Initial Settings
Launch Google Antigravity. In this example, we will select Import from VS Code, but you can choose your preferred option.
Select the design color for the editor.
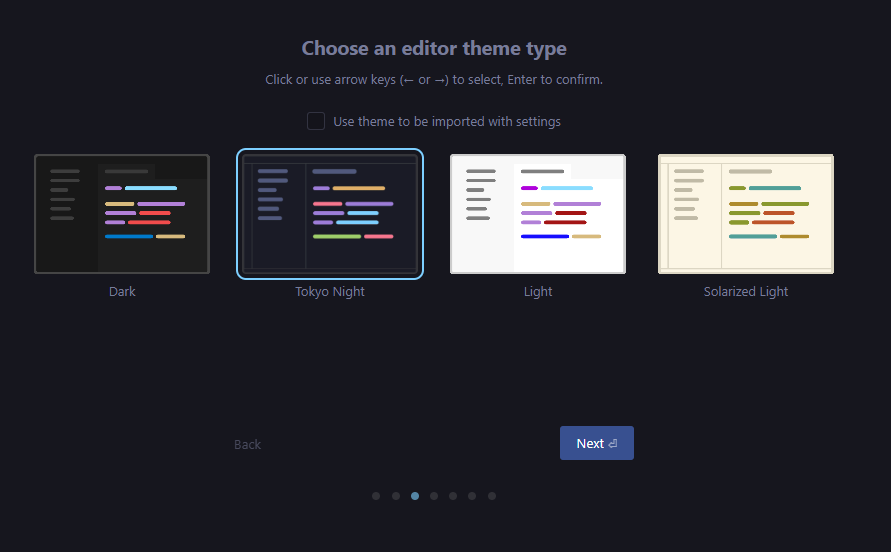
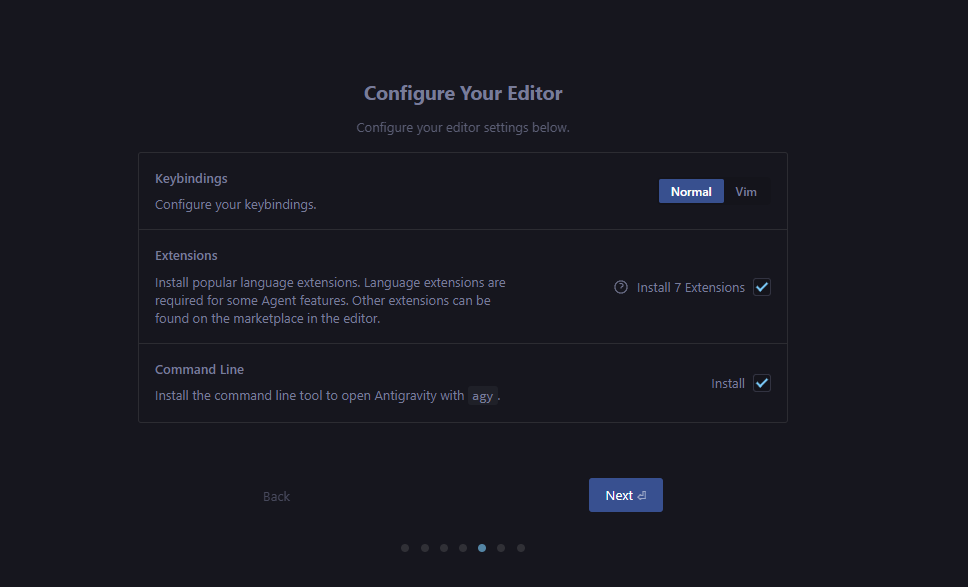
We will use the default settings this time, but please change them as necessary. Select
the “Terminal Execution Policy (whether the Agent can automatically execute terminal commands)” and “Review Policy (whether a person must always check the Agent’s deliverables or whether the Agent will automatically make the decision).”

We will use the default settings this time, but please change them as necessary.
Sign in to Google.
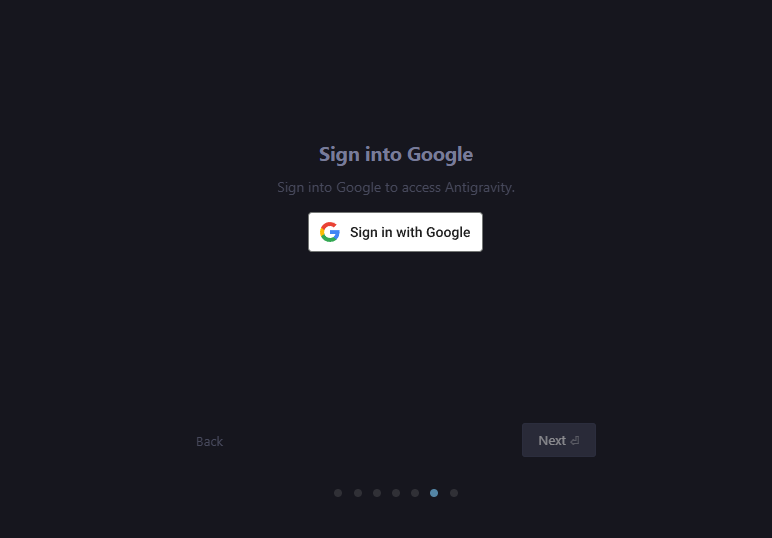
The initial setup of Google Antigravity is complete.
3. Switching views and basic operations
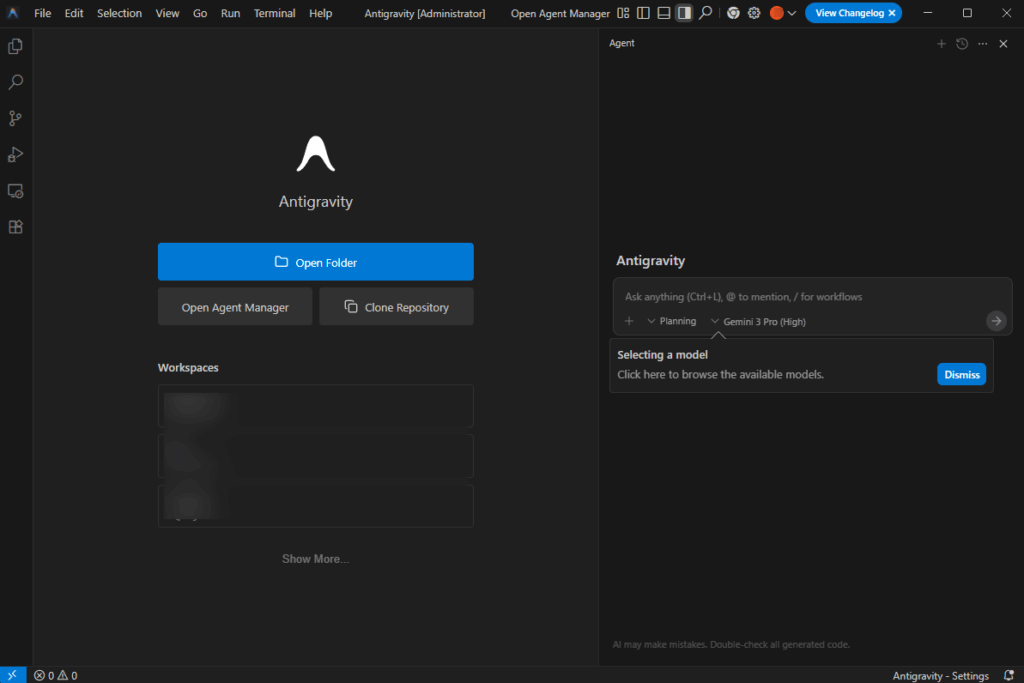
If you select “Import from VS Code”, you will see the following screen.
This time, open any project using the “Open Folder” button on the left, and enter instructions in the area on the right.

4. Give instructions to your agents
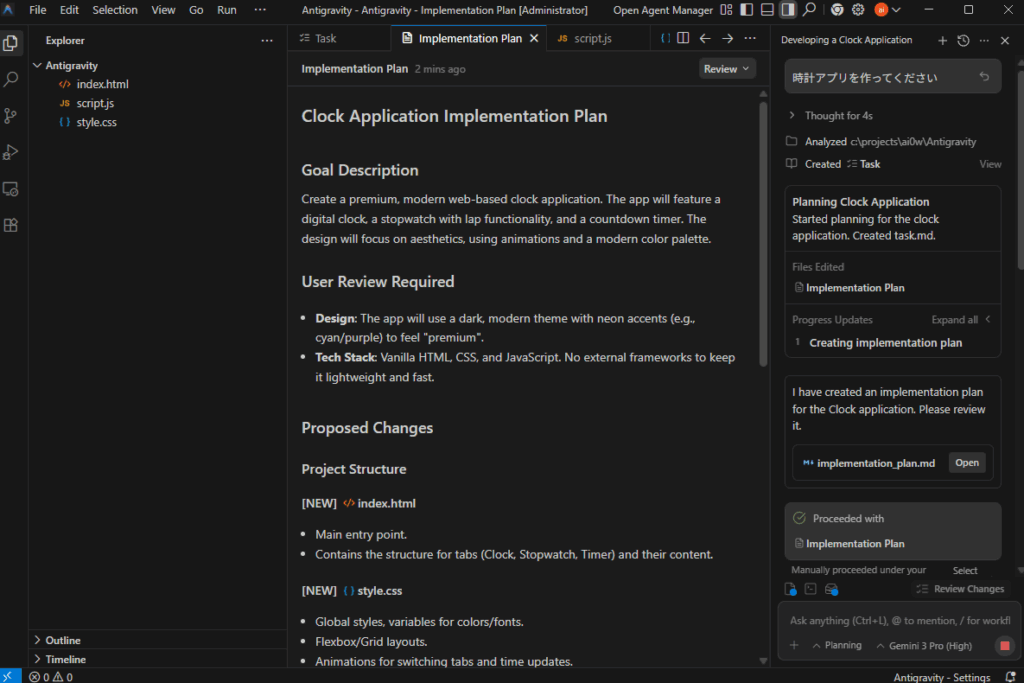
承認を求められたら、確認して許可します。
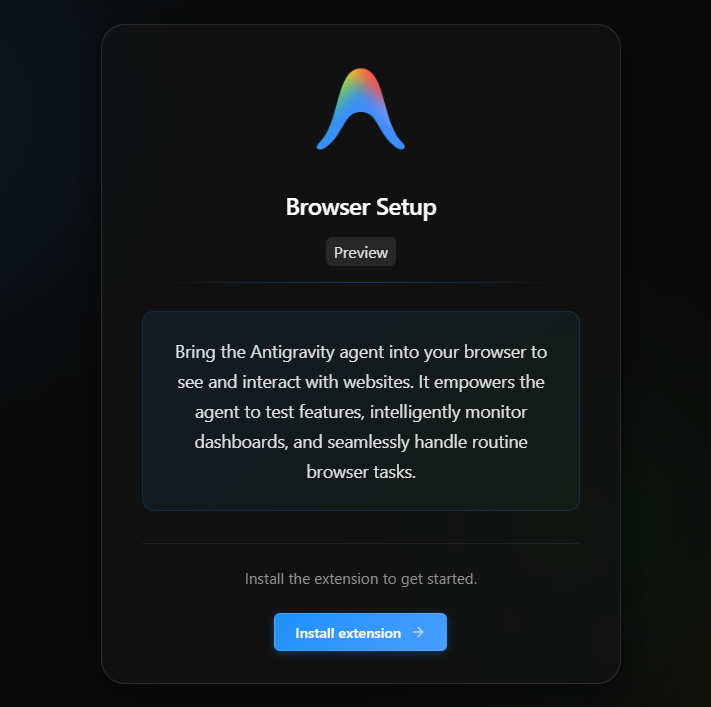
5. Browser Extension & Testing/Verification
The Google Extension setup screen will now appear.
Antigravity recommends installing a dedicated extension (e.g., Chrome extension) to allow agents to operate the browser. This will allow you to automate the process of logging in via the browser, clicking a button, and checking the results.
Add it to Chrome.
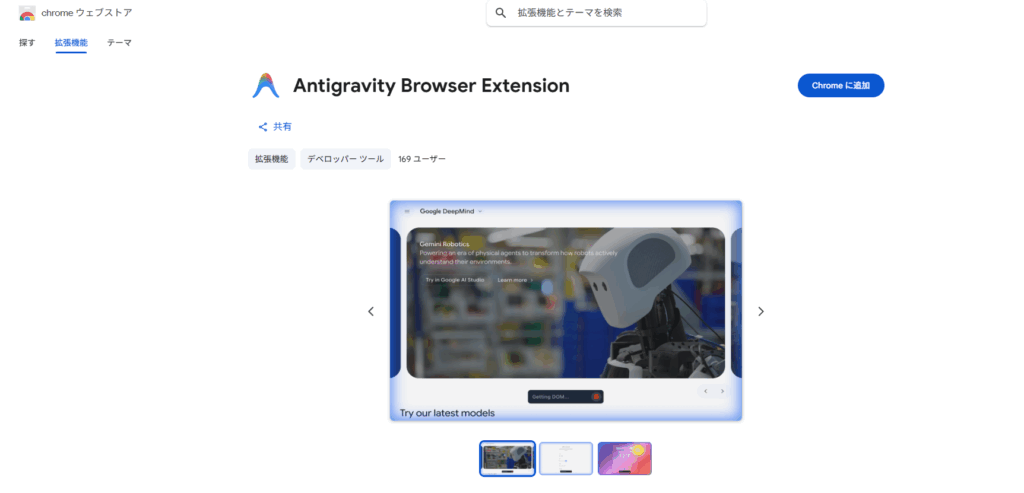
Google Chromeに「Antigravity Browser Extension」が追加されました。

The “Antigravity Browser Extension” has been added to Google Chrome.
6. Supplementary Information
- If any changes are required, please enter a comment so that we can add or modify the features as needed.
- You can switch Agent “modes” (Planning mode vs. Fast mode) depending on the project: choose Planning for complex tasks, or Fast for simple changes.
Official documentation and reference links
- Official website: Google Antigravity
- A new era of intelligence with Gemini 3*November 18, 2025https
://blog.google/products/gemini/gemini-3/#plan-anything - Agents that help you achieve liftoff *Video
https://antigravity.google/product


Comments